CLICK HERE FOR FREE BLOGGER TEMPLATES, LINK BUTTONS AND MORE! »

Wednesday, October 10, 2012

Vaseline Distressed Wood Cross and "E"


My sister decided to "girlify" (yes, it's a word...) a few of the spaces in her house and she hates to shop. What is that sister to do?? Call her shopping, decorating, and crafting loving sister to help her out, of course! And so she did. "Where should we go?," I asked. "Hobby Lobby," she replied. "Heck yeah!," I exclaimed. Soooooo, off we went. She chose some fabulous items and her mantel area is nearly complete. Imagine lots of turquoise and brown and fleur de lis stuff and you will have a good idea of what she was going for. Shabby chic-ish and super cute. She had wanted a cross but we just couldn't find exactly what she had pictured, so, sister shopper/crafter to the rescue again!! I volunteered my crafting expertise and offered to make her one that she would love. I found some blank wooden crosses and she picked some colors that complemented her chosen scheme. We happened to walk by the paper mache section too and she wanted an "E" to go with her stuff. "Ok," I said (and secretly squealed with happiness in my mind.) I was so proud of her! Shopping and picking stuff out and acting like a real grown up house decorating lady! ;-)

Since I recently made a Vaseline distressed letter and it was so easy, I thought that would be a perfect technique to do with my sister's decorations. These were a little different because I decided to double distress them. I started by base coating the items in a dark brown, then dry brushed some turquoise over the brown once it dried. Then I added the Vaseline in spots all over, in places I wanted distressed. Then I painted an ivory color over the whole piece. Waited a few minutes for the paint to dry (ok, almost dry... I am impatient...) Then with a paper towel, wipe away the Vaseline gently.and allow the remaining paint to dry completely. Then embellish! Simple as that. Since I already had a muslin rag rose left over from my last project and some jute cord, it made it even easier. I bet I can do these letters in my sleep pretty soon!
As for the small cross, I base coated in brown then I dry brushed it in ivory. I decoupaged some basic scrapbook paper to the painted surface and then added the Cricut cut vinyl "faith" word. I coated the whole cross with a layer of Mod Podge to seal it and that was it! Super easy.
For a good tutorial on the Vaseline distress technique, check out Shanty 2 Chic. :)

Sunday, October 7, 2012

Jen's Hamburger Vegetable Crockpot Soup

Yes, these are baby carrots, not sliced. I used what I had. ;-)
I am always on the lookout for easy, economical, and family friendly recipes for my crockpot. My crockpot is my best friend in the kitchen these days. It is a necessity, as far as I am concerned. In my searches, I came across several recipes for soup that used ground beef. Since we always have that on hand, seemed like a good place to start. I combined a bunch of recipes, picking and choosing the ingredients that I knew would work well together and that my family wouldn't turn their nose up at. I think I succeeded.
In fact, it is popular with lots of moms that I know! ;-) You see, I am part of the creative activities team for my MOPS group and we recently made 120 meals worth of this soup as our opening day activity. Put out all of the ingredients and the ladies assembled them to take home and make for their own families. I got a lot of positive feedback! What a relief it was, for sure. Sometimes I question my taste buds... Hahaha. But, rest assured, this is a keeper. I thought I would share the recipe with you too since it is finally starting to cool down and Fall is in the air. So incredibly happy about that! Hope you give this one a shot and enjoy!

Jen's Hamburger Vegetable Crockpot Soup
serves 6-8

2 cups of ground beef, browned and drained
1 cup (or 1 can) diced tomatoes
1 small (8 oz.) can tomato sauce
1 cup (or 1 can) corn
1 cup peeled, sliced, carrots
1 cup sliced celery
1 can kidney beans
1/2 cup diced onions
1/2 cup ketchup
1 tsp. minced garlic
2 tbsp. beef (or chicken) bouillon powder
1/2 tsp. basil
1/2 tsp. thyme
1/2 tsp. oregano
1/4 tsp. black pepper
1 bay leaf (remove before serving)
6 cups water
1 cup dried pasta (wagon wheel or rotini works best, but any bite sized shape will do)
Parmesan cheese, for topping when serving (optional)

Add all ingredients, except dried pasta and Parmesan, to a 4-5 quart crockpot. Cook on high 4-6 hours. Stir in dried pasta and cook for an additional 30 minutes. Top servings with Parmesan cheese, if desired. Alternatively, you may cook in a large pot on the stovetop for 1 1/2 hours, add pasta and continue to cook until noodles are done, about 15 minutes. Serve with bread or crackers and a salad. Enjoy!

Vaseline Distressed Fall Monogram

Base coated and ready for the Vaseline.
Close up of the distressing.
I am loving the giant letter projects that I keep seeing everywhere on Pinterest. Since I needed a Fall inspired door decoration, I thought I would search until I found the perfect way to make a monogram project of my own. I have also been dying to try the vaseline distressing technique that is used on all those adorable shabby chic items. Seemed like an awesome idea. So I set out to find an "A" that I liked, a sprig of fall berries, some paint to use and a tub of vaseline (haven't had that stuff around in about a gazillion years...) I was amazed at how easy the technique was!! My mind is full of ideas now.
The letter I found is paper mache, about 12" tall. I found it at Joann for $4.49 and used my 40% off coupon. Bought a bottle of ivory paint for .89 cents and got the berry sprig at Micheals. It was $1.39 with 50% off. I had the muslin, twine, buttons, and hot glue. So, super cheap project, yet again!! Love it!
I could explain how to do the vaseline distressing technique but it would be easier to send you to where I learned it- Shanty 2 Chic. (Love that site!) Also need to show you my inspiration piece. Found it on Pinterest, of course. I feel like making a couple more for gifts for my family... Shhhh, don't tell them.

Saturday, September 29, 2012

"Spooky" Halloween Board Decoration


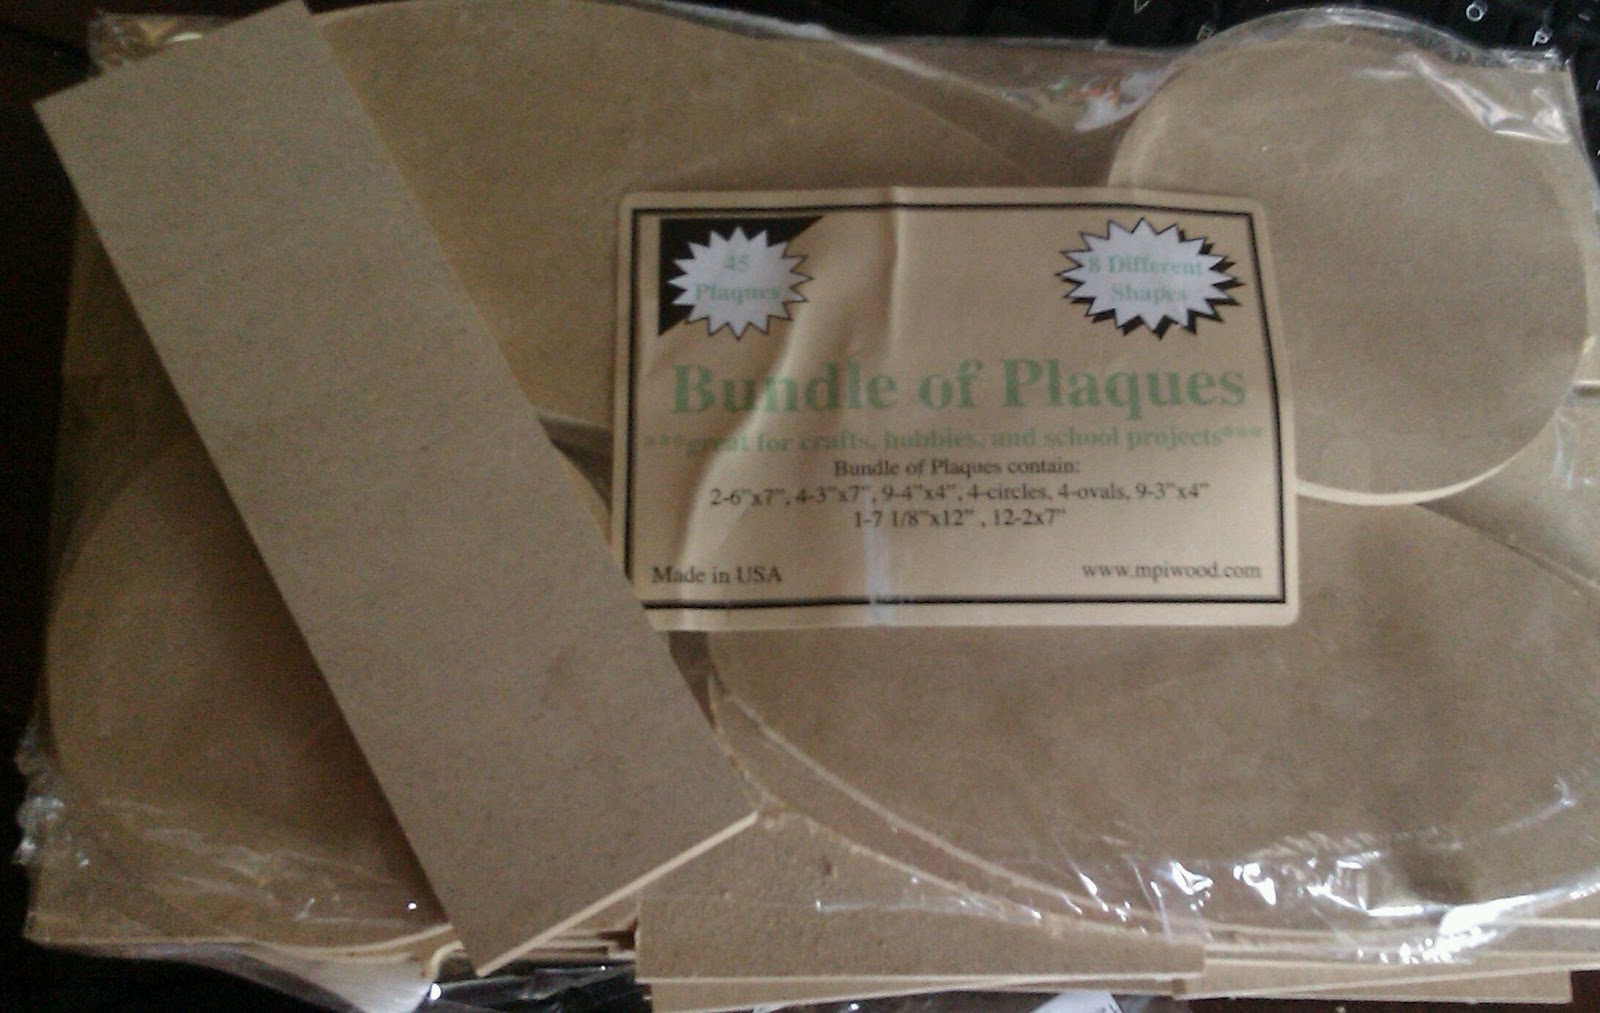
MOPS is next week and I wanted to make something special for my new friends at my table that would be cute and cheap. (Two of my favorite crafting adjectives...) I had an idea of making a little shelf sitter or doorknob hanger or something like that. I went out on a quest for materials. I found a package of 48 plaques in various sizes at Hobby Lobby and with my 40% coupon, I got the package for $6! Not a bad price for that many potential gifts! The only thing I had to purchase was some scrapbook paper and a little ribbon. I had everything else on hand. Love it when that happens!

Before the addition of the googlies...
Though, for some reason I stressed over the googly eyes. Still am not 100% sold on them. I mean, they are cute, but I think the little board is cute all by itself. I cut out the "spooky" using black vinyl and my Cricut. I used Stampin'Up punches for the shapes and my new Stampin'Up hostess set called Mixed Medley for the little spider web. I made the accordion folded flowers using the Stampin'Up Simply Scored scoring tool. Mod Podged over the whole board before hot gluing the embellishment on.
Very happy with the results! Hoping my table group will love them too. Fingers crossed...

Saturday, September 22, 2012

Boiled Chocolate Cinnamon Sheet Cake

Pretty sure this is the most boring picture ever....
So, we are having company tomorrow night. Some new/old friends are coming over for dinner with their kids, who have been friends with 2 of my kids since kindergarten. I say they are new friends because even though our kids have known each other for so long, we have just recently realized that we have a lot in common as parents, and enjoy each others company. How cool is that?! So looking forward to a happy friendship! :) We will be sharing the cooking between us and will be enjoying chili verde (click the link for a video of me making the recipe,) rice, chicken enchiladas, guacamole and chips and now, we shall have cake. Yummy yummy cake.

Ok, I have two words for you- boiled cake. Boiled, you question? Yes. Boiled. I also have two more words to go along with the other two- IT"S FABULOUS! It is a family recipe and I would have thought it was strange if I hadn't tasted it first. I will confess though, it is not one of my husband's favorites and he is a fan of chocolate cake. I think it has something to do with the cinnamon that the recipe calls for. He says there is something about cinnamon and chocolate that he doesn't like. I will also say that the whole rest of the family completely disagrees with him...

I don't make it very often because it is quite a large cake. In fact, it takes up an entire jelly roll pan. I save it for when we have company or if I am scheduled to share a dessert at a potluck or gathering of some sort. I think the hardest part is waiting for it to cool. But trust me, it really DOES tastes better when it is cooled. The flavors are more blended or something. I don't get it really. Something about chemistry or some other blah blah reason... whatever. I just know that MAYBE somebody couldn't wait for it to cool down, one of the times it was made it in the past, and MAYBE that person can say that eating it cooled down after they had to make it again (because they still needed it for a potluck on Monday,) makes it taste better. Play it safe and park it in the fridge for about 24 hours. You will thank me later. ;-)

And here is the recipe:

Boiled Chocolate Cinnamon Sheet Cake

2 cups flour
2 cups sugar
1 cube margarine
1/2 cup shortening
1 cup water
4 Tbsp. unsweetened cocoa powder
2 eggs
1/2 cup buttermilk
1 tsp. cinnamon
1 tsp. baking soda
1 tsp. vanilla extract

Combine flour and sugar in a bowl and set aside. In a saucepan, combine margarine, shortening, water, and cocoa. Bring to a boil. Remove from heat. Pour into the sugar/flour mixture and stir to combine thoroughly. Add eggs and buttermilk, cinnamon, soda, and vanilla.
Spread evenly onto greased jelly roll sheet pan and bake for 20 minutes in a preheated 350 degree oven,

Frosting:
Five minutes before the cake is done, melt one cube margarine and add 1/3 cup buttermilk and 4 Tbsp. unsweetened cocoa powder. Bring to a boil while whisking. Remove from heat and add a 1 lb. box of powdered sugar, 1/4 tsp. cinnamon, and one teaspoon of vanilla. Mix thoroughly and spread evenly over the hot cake. Allow to cool to room temperature.
Refrigerate for at least 8 hours (24 is best,) then cut and serve.
Powered by Blogger.